In The Studio with Elisha Marie
Ever wonder what it takes to make EM jewelry?
It seems like such a rare thing to have artists or designers walk you through how they create their livelihood. Jewelry is one of those things that seem to just "happen" ~ cheap jewelry is so pervasive that it's easy to forget that the process of creating a unique/handmade piece, is fairly extensive and labor-intensive. Elisha walks us through the steps it takes to make a delicate, simple, and lovely ring from her eponymous line, Elisha Marie Jewelry.

|
|

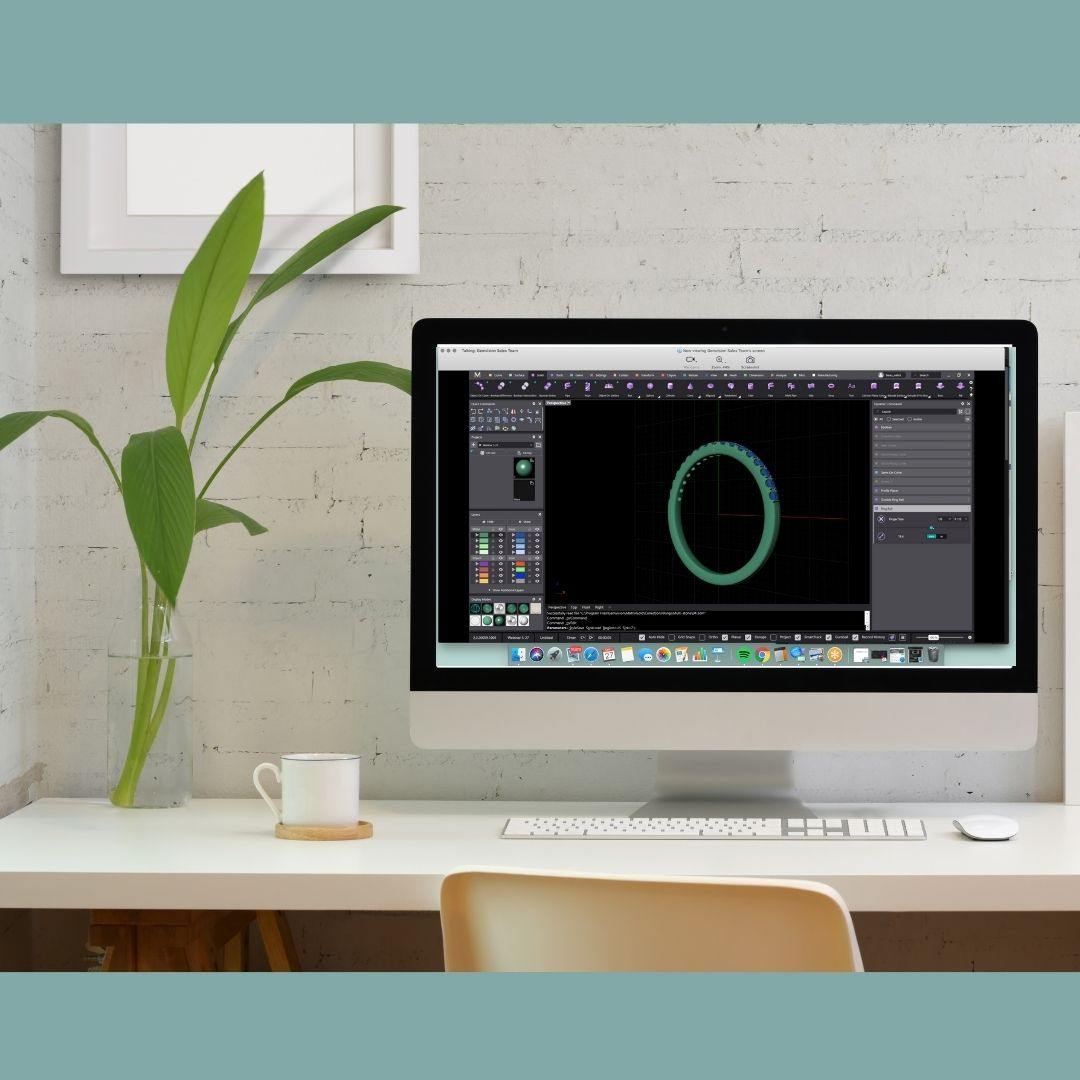
Bringing the design to life
Then I take my sketch and move it to the CAD software where it comes to life. This is where I can add different gemstones and look at different metal colors.

3D Printing Time
This is the cool part! I send my CAD design to my 3D printer and it prints out a wax model of my design.

Metal Time
This step takes the wax model and turns it into a metal piece of jewelry. Super cool! Now it just needs a good polishing to make it really sparkly and add any gemstones to it.

Final Step! Make a Mold
Ok, now we are at the final step. This is where we make a mold of the original design. The mold is used to make the jewelry piece for you! When you order jewelry from Elisha Marie, we reproduce the design using this mold. Pretty neat right?
